
We show the steps to follow in Linux to connect through SSH using an alias; in this way, we avoid continually typing the access parameters.
We show the steps to follow in Linux to connect through SSH using an alias; in this way, we avoid continually typing the access parameters.
In the article: "How to connect through SSH without passwords: The public key authentication.", we manage to have an SSH connection without using passwords. For this, in the terminal we type:
ssh -i ~/.ssh/nepy.key ortiz@87.123.243.210 -p 1132
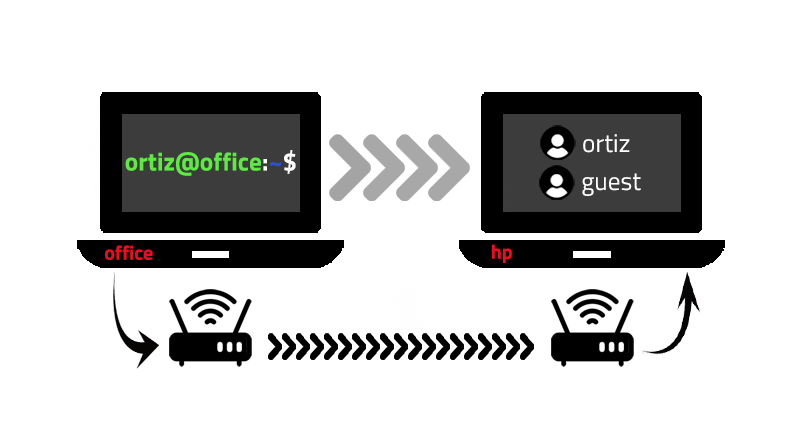
As you can see, despite having passwordless access, we still have to specify the path to the encrypted SSH key, i.e., -i ~/.ssh/nepy.key, but not only that, we also have to specify the username and the IP. To simplify this cumbersome command, in this article we will make use of an alias. For this, we will consider the devices office and hp, given in Fig. 1, and our goal will be to connect from office to ortiz@hp using the alias.
A summary of this article with some extra info appears in the following video:
The steps to follow are:
1. Create the alias
Open the hidden file .bash_aliases. By default, this file is located in the /home/<username> directory. However, this may change depending on the system configuration; therefore, the most practical way to access to it is by considering cd ~. For editing, we use the vi (or vim) editor:
vi ~/.bash_aliases
If the file does not exist, we create it with the appropriate permissions:
touch ~/.bash_aliases && chmod 644 ~/.bash_aliases
In the file, we type the following:
# connect to hp
alias ssh-hp='ssh -i ~/.ssh/nepy.key ortiz@87.123.243.210 -p 1132'
Note that if you use a dynamic IP, e.g., your home IP, then it seems that using the alias would not be suitable for you because you would have to continually change the IP. However, one way to fix this is by considering a DNS (Domain Name System), which will remain fixed even when the IP changes over time. The steps to set a DNS are described in the article: "How to configure a free domain name for a dynamic IP." In this example, having configured the DNS, in the .bash_aliases file it would be enough to type:
# connect to hp
alias ssh-hp='ssh -i ~/.ssh/nepy.key ortiz@nepy.ddns.net -p 1132'
Once this is done, we save it using the vi (or vim) commands.
2. Activate the alias
We open the file .bashrc located in the same directory.For editing, we use the vi (or vim) editor:
vi ~/.bashrc
If it does not exist, we create it with the same permissions given for .bash_aliases:
touch ~/.bashrc && chmod 644 ~/.bashrc
In this file, we type the following (if it does not exist):
if [ -f ~/.bash_aliases ]; then
    . ~/.bash_aliases
fi
Once this is done, we save it using the vi (or vim) commands. Then, to activate the alias, we reload the .bashrc configuration. To do this, we type the following in the terminal:
source ~/.bashrc
3. Access to the remote device with the alias
Once the alias is active, to connect to hp, we type the following in the terminal:
ssh-hp
As you can see, thanks to the alias, now the command to type is very simple. If you want to change any parameter in the alias or create another one, you just have to repeat the steps given here. Note that all your aliases are stored in the file .bash_aliases, and these do not necessarily have to be associated with the SSH command. In fact, you can create any alias that you want for any Linux command that might be too long for you to type.
Views: 1
Related Articles


Notifications
Receive the new articles in your email
Other Articles

How to get into MIT. Invest in education
stats con chris

Death Note. The day I met the manga characters in Tokyo
stats con chris

The quest for the world order: The Middle East
stats con chris

Git in Ubuntu Linux
joushe info
